I have been working on my independent animation project this semester originally titled "Lost In The City". As I was working, I didn't like the title and eventually changed the name to CMYK. CMYK refers to the four main colors used in printer cartridges; cyan, magenta, yellow, and key, where key represents black. Like the RGB model, the CMYK model makes up all of the colors with different percent values of each color. I chose this name because the paint used in the project consists of all CYMK colors, plus a bright orange, neon green, and white. These extra colors were added on for contrasting reasons, and I wanted to give more color to the project besides the main colors as a way to avoid too much minimalism.
BUILDING THE CITY
 |
| City Street Sketch |
 |
| City Street Outline |
 |
| City Street |
 |
| City Street Full Color |
I made the city scene one layer as if it were a strip mall. In there, I included apartments, a coffee shop, and a library. The environment of the street is fresh and lively full of street passers like a biker, a stray cat, and children playing jumprope.
However, the main character is feeling neutral and not very upbeat, which explains why the beginning scene is completly black and white.

To make the scenery, I sketched out the street buildings, then scanned the drawings to Photoshop to construct each building using several shapes. After that, I made a street layer and a median layer with trees and grass on the front. I formatted each layer to a PNG file to avoid the shapes rasterizing, or getting blurry when zoomed out on.
PAINTING THE WALL
I first began making the wall by sketching outlines for each thing that would go on the wall. They mainly consisted of abstract and themes that don't really clash together like a claw machine full of toys, a forest, a koi pond, marker, and electricity. While making my sketches, I looked at several references for inspiration on how they should be made. Once all of the items were sketched out, I made them into shapes using the colors I selected. After each object was made, I brought each object to their designated group
 |
| Koi Pond Sketch Progression |
 |
| Concrete Wall Sketch |
 |
| Concrete Wall Full Color |
I originally planned on Luke painting the wall, but that involved adding in a lot of masks on After Effects. Below here is an animated loop of Luke holding a paintbrush and painting the wall.
ANIMATING THE CHARACTERS
Animating each person involved the same steps of making the primary frames, then adding in-between frames. For animating the stick figured humans like Luke, I looked to this
video, which is an animated loop of a stick figure walking on the side view and front view.
This video was very useful when animating the part where Luke enters outside. To get the feet walk cycle in correct swing, I used rulers to measure where the arms and feet should end.
 |
| Full Image of Rulers |
 |
| Legs with Rulers |
STREET WALKER ANIMATED CLIPS
Below here are some of the animated characters I made. They loop back each other back and forth, and make short appearances out in the street (with the exception of Luke).
Luke Walking Slowly
Mother and Daughter
Kids Playing Jumprope
Alley Cat
I also made a door for the beginning of the project. I sort of had to because Luke is entering outside his apartment and needs a nice door. I made the door using two rectangles and a thin rectangle that would depict the door's side edges where they would meet. I animated it using a
Youtube tutorial, and added in the side part of the door between the two door faces. Adding this in gave the door a 3-dimensional appearance in a 2-dimensional platform.
MIXING IT ALL IN AFTER EFFECTS
 |
| Concrete Wall Masks |
 |
| Effect Settings |
A lot of my problems came in while using After Effects. Most of them came from the fact that I was under a huge time constraint. While I did get all of my layers in, I didn't have enough time to fully animate them, specifically on the part where the concrete wall is being painted. I only got one part of in, so I cutted my project to half and won't use the footage where Luke paints the wall.
 |
| Paint Buckets |
 |
| Walking Through Town |
I did, however, get the beginning part in the city streets animated, and added in the concrete wall paintings already painted on the wall. As Luke walks by the drawings, the city will gain it colors again and be bright. Once that is done, the whole city street is shown in full color.
To make the city add color, I used the Curves and Leave Color effects. To change the colors from Black and White to the desired color, I added in two Leave Color effects, where the first color was any color I wanted, and the second color was the color I wanted to appear on the screen.
Below here is an example of the city changing color to blue.
After everything came together, I made the credits, which consisted of the title "CMYK", and my name. The credits started out with white text, and eventually fade into the CMYK colors in order as shown below. I really like this because it explains the title in a short way and makes the project very unique.
 |
| Credits Example |
VIDEO FOOTAGE PROGRESSION
Here below are a set of video clips from my project that depict the project's progression and improvement overtime. They consist of different scenes. It is best to watch these in order from top to bottom to see how much the project has developed overtime.
FINAL THOUGHTS
This project went pretty well with the exception of time constraints. I took a different approach to my time constraints and remained relax not rushing over parts, which is better than how I have reacted in the past. Luckily, I found ways to cut out parts with what I have and made them work together while keeping the end result the same. I enjoyed making the concrete wall, some of the street passers, and the end result of this multi-planar animation.
You can watch the full version of CMYK
here!
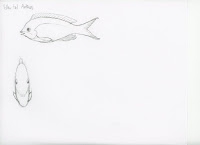
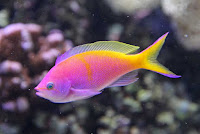
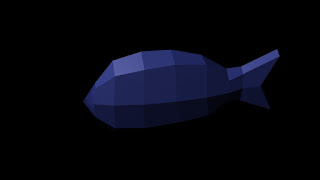
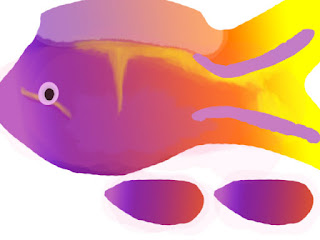
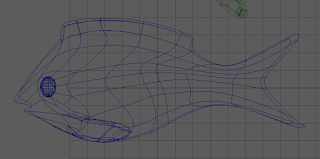
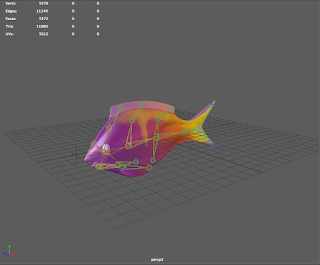
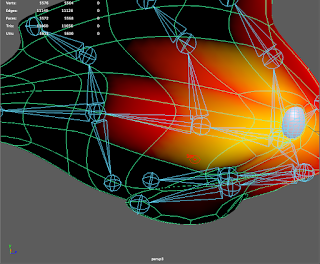
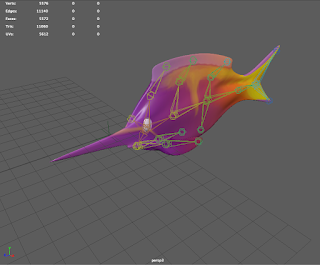 While painting the weights, I happened to have one of my vertices stretched out past my fish. Despite my many attempts to move the faces, edges, vertices, and repaint the affected area, I could not fix it. Fortunately, I have a backup copy of this file, but that file doesn't have any of the animated keyframes.