


This is the last optical flares shot, where the light is shined at the center of the composition to make it appear come out of the panels. It started out with a huge flash, then dimmed out to a tiny speck.

Here is the optical flares combined with the original animation. They both look good together because of the blue color scheme, glowing light effects, and syncopation with the audio.
While making the optical flares, I encountered some problems, like the opacity. I originally wanted my optical flares to decrease in opacity and not appear when the beat didn't sound. This lowering of opacity formed a light blue background from the Optical Flare's brightness. This really confused, and then solved the issue by turning the brightness all the way down when I didn't want it to appear.
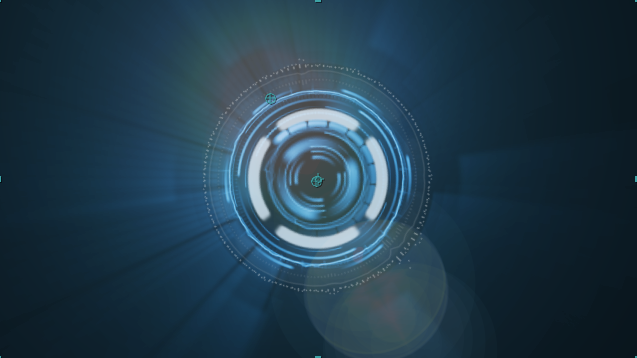
 Along with the creation of Optical Flares, I made an outer ring for the panels. Why? From the original animation shots, the outside looked very odd, and was missing something on the outside to fill this emptiness. I then filled it with an outer ring by making two circular masks. The outer mask was set to add, and the inner mask was set to subtract to get rid of the unwanted space. I then moved this layer to the Adjustment layer to match the color scheme, which turned out amazing.
 Now that I have explained all of the final detail of the composition, everything is merged together and looks nice. Here is the ring put together with the whole composition, which by viewing it, does fill an empty gap that was placed before.
Over the past month or two, I have made the ONW NOW Ending, using the Advance Spin FX on Video Copilot. My original plan for the project did not come out as planned, but these adjustments made the project great. Overtime, I did get tired of watching the tutorial, but I persisted in the hard challenges when I couldn't understand material from the tutorial. The tutorial felt long and tiring, but felt more energized the quicker I worked through the animation.
If you enjoy working with After Effects, this would be a great intermediate level project to work on, since it teaches many tricks on After Effects and improves your After Effects skills.
Here is the animation I rendered out. Note that this isn't 100% done, and changes will most likely occur as my work progresses.
No comments:
Post a Comment